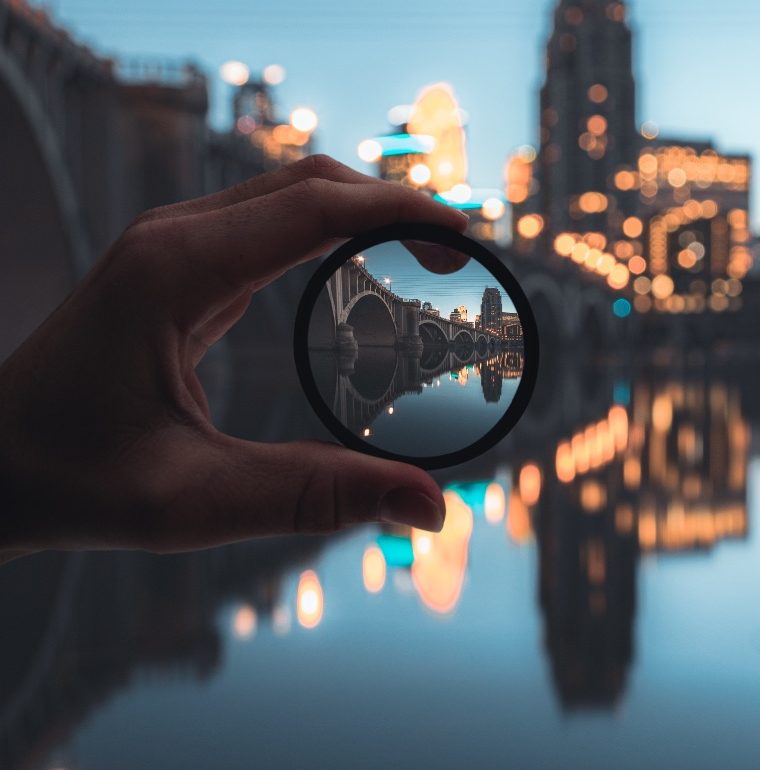
Time for a glow-up. In a literal sense that is. For the passionate photographers out there, we know that theory isn’t the most exciting thing to do when learning your craft, but it needs to be done. So, we’ve compiled a list of all the relevant pointers that you need to know about lighting.
Lighting can make or break a photo, so learning what to use can help creatives know exactly what they want to include in their photos for future sessions. We’ll go through sources of light, light temperature, and studio props. The fundamentals.
On that note, if you’re looking for beautiful and free-to-use photography, for fun or constructive use, here’s a list of stock photography websites that anyone can visit and use. There’s a plethora of images and ideas on those websites, and if you’re running low on inspiration, you might want to check out what other creators are producing.
Moving on, here are our photography pointers:
- Natural And Artificial Light
Light can be sourced from either:
- Natural light: Sun, moon
- Artificial light: Studio equipment, LEDs, flash
Depending on the photographer’s vision, they can use both at the same time, just one of either, or a combination of many at once. Studio light is usually used for portraits, and studio shoots, but artificial light can be used outside too.
Landscape and wildlife subjects are usually taken with natural lighting unless it’s in the dark. There is no end to the potential combinations photographers can do to play with lighting. The most innovative and successful photographers usually do not limit themselves, and let their creativity lead.
- Flash
The flash can destroy a photo or make it better. Beginners using flash usually end up with pictures that are way too bright. When using the flash, remember to keep the camera in manual mode so that you can easily change your settings to play around and experiment. For those who want to learn live sports photography, they should buy End zone cameras.
Balancing out the flash with the aperture, shutter speed, and ISO settings can help photographers get better pictures, and while the beauty of it is subjective, it’s certainly worth remembering to integrate these four elements into harmony.
- Hard And Soft Light
If you aim for the contrast and depth of shadows, hard light is what should be used. It’s more stark, and sharp. On the other hand, soft light allows for more subtleties to shine through or can be played with to give a vintage/retro style feel to the photo. Colors will also appear muted somehow.
Black and white pictures, for example, can have very impactful visuals when using hard light. Soft light is better to use if the photographer wants to deliver more gentle and dreamy visuals.
- Color Temperature
Color temperature is about the warmness or coolness of light. Warm colors include red, orange, and yellow. Cool colors include blue and purple. Like hot and cold basically.
Depending on how you want the photo to come out, the color temperature can be played around with during the photography set by using warm-toned sources like the sun or cooler toned sources like blue LEDs, or in post-production using image filters and playing around with the parameters.

- Flat Lighting
Flat lighting is the light source right in front of your subject. A stronger flat lighting source means no shadows and a well-lit subject. Flat lighting is good to use for portraiture photography of any kind, but if the photographer’s goal is to eliminate shadows then having good front lighting is the way to go.
- Backlighting
Backlight is the light source at the back of your subject. For backlight, most photographers usually add more of it during post-production in an image editor ‒ there are countless lighting presets available for use.
However, photographers can use reflectors, green screen, studio lights to add actual backlighting during a session. For example, if you want to cast a shadow on a subject and make it so that you can only see their silhouette from the front, you can use a strong backlight for it.
Backlighting can also affect the front lighting, so by experimenting with which combinations of the two work out, photographers can see which mixes work in their perspective.
- Playing with Reflectors
A reflector reflects light if that wasn’t obvious from the start. It’s used to redirect it. Photographers can use it inside a studio, or even outside. It doesn’t add any additional light, but instead just reflects and bounces existing sources of light.
If the photographer is reflecting light from the sun, the same quality and tone of light will be redirected towards or away from the subject. The same goes for studio light. There are; however, reflectors that come in color.
Photographers can keep this in mind if they want to experiment using this equipment. A touch of color here and there can make a picture pop out even more. Better pictures come from practice and experimentation, after all.
- Playing with Diffusers
A diffuser’s job is basically to soften and ‘dilute’ light. Diffuse it. Spread it out. They can even out the tone of a picture, which can be handy. Photographers can buy diffusers or can diffuse lighting by playing around with its strength and distance from the subject.
Lighting spreads out and diffuses itself naturally when taken further away from a subject. So naturally, it’s more concentrated when it’s nearer the subject. For outside photography, diffusers can help photographers spread out the lighting more evenly on a picture.
Final Thoughts
Knowing the 101 of photography lighting can definitely help photographers step up their game, so we hope this article has shed some light on it. However, knowing your theory inside and out won’t exactly make you a better photographer. Don’t forget to practice. Don’t be afraid of failure and experiment!
A photographer with technique is a good photographer, but a photographer with imagination is unstoppable. And every photographer has a different and unique perspective, much like how we all differ from one another. The vision and idea will translate directly into your photos, so know your theory, adjust parameters to your liking, but enjoy the process and don’t get bogged down by details.


